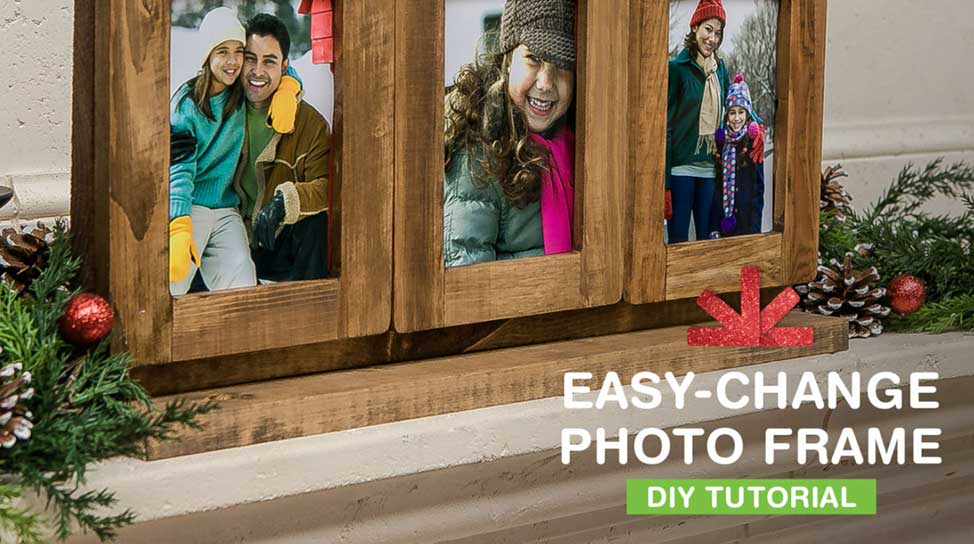
How To Make A DIY Photo Frame

Beautiful photos deserve an equally special frame! This fun, easy do-it-yourself project will help you create a rustic three-photo frame to display your precious memories or to give as a gift to someone special during the holiday season.
Materials:
- 3 - 4x6" wood frames
- 1 - 1x10" board
- 1 - 1x6" board
- 3 - Craft hinges with screws
- 6 - Craft magnets
- Saw
- Screwdriver
- Speed square or measuring tape
- Wood stain in a color of your choosing
- Wood glue
Step 1: Select your frame.
Head to the craft store and pick up three identical wood frames that are 4 inches by 6 inches in size.
Step 2: Measure and cut.
Cut the 1x10" board and 1x6" board so that they are 3 times the length of one of the frames. For example, if each frame is 7 inches wide, your boards will need to be 21 inches long.
Step 3: Customize with stain.
Stain the frames and the two boards as you desire.
Step 4: Add hinges.
Measure and mark the center of each frame at the top for hinge placement.
Measure the center of the 1x10" board for placement of center frame.
Center a craft hinge on the top of the center frame and screw it into place. Line up the 1x10" board and attach the other side of the hinge to your center mark. Repeat with the other two frames, so that all three frames are secured to the board.
Step 5: Secure magnets.
Use wood glue to secure magnets to the inside bottom corners of each frame. Glue magnets on the inside flat surface of the board, so they line up.
Step 6: Choose your photos.
Insert 4x6" prints into the frames by simply sliding them into place.
Step 7: Glue on the base.
Use wood glue to secure the board to the center of the 1x6" board. Allow the frame to rest until it is completely dry.
With the smart magnetized design, this DIY triple photo frame allows you to easily swap out photos throughout the year. Purchase 4x6 Prints that capture the spirit of each season and refresh the pictures as the months progress.


