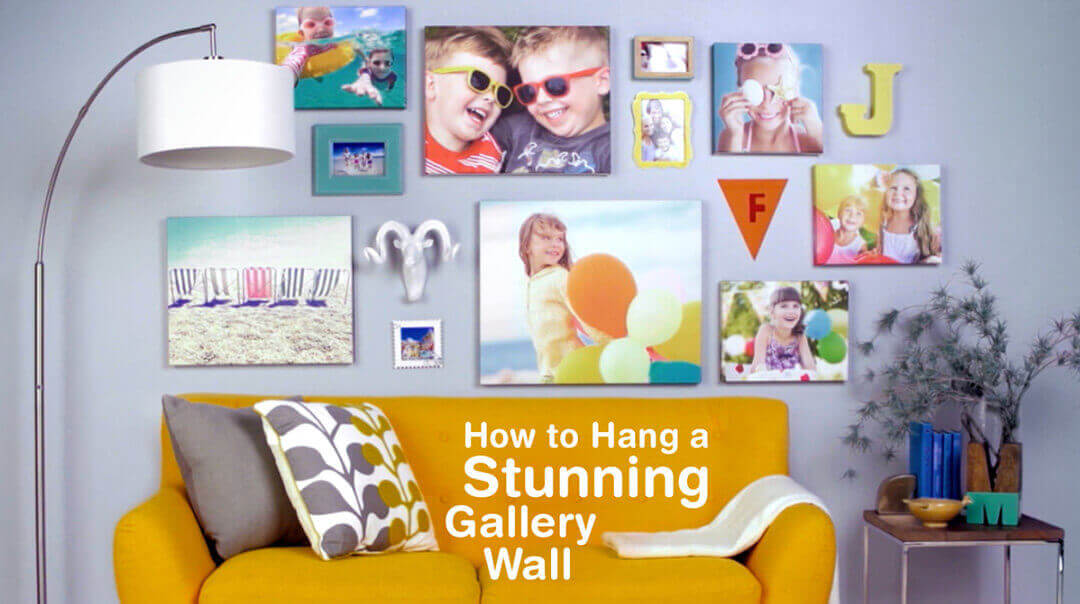
How to Create a Gallery Wall

A gallery wall transforms a blank wall into an amazing focal point. It can highlight your favorite memories while giving a room plenty of personality. Spicing up a bland bare wall is simple with digital photographs, artwork and other decorations. This step-by-step guide will help you put it all together to turn a wall into a one-of-a-kind gallery.
Step 1: Consider your space.
How much room do you have for your gallery wall and what is the overall décor of the room like? In a traditional, elegant setting, a symmetrical arrangement may be your best bet. Asymmetrical arrangements work well in rooms that skew contemporary, while an eclectic, random positioning can suit a room with a playful, casual vibe.
Step 2: Choose a color scheme or theme.
The key to creating a cohesive gallery wall is establishing a common element that ties everything together. You can choose a theme that works with your décor, such as the beach for a coastal interior or the great outdoors for a rustic room. Color can also unify your gallery wall. With the use of a photo filter app or program, you can give your photos a classic black-and-white look or find a unique filter to fit your photo’s style.
Step 3: Select photos.
Browse your digital images to find pictures that suit your theme or color scheme. You can easily create a gallery-style wall using our Custom Floating Frames. An 8x10 photo fits best in this frame, and you can personalize with frame colors and backer board options. If you have a painted wall or interesting wall paper, you can choose to have no backer board for a stronger floating frame effect.
Have frames of your own? You can use Walgreens Photo to crop, edit or resize images. Once your photos are ready, you can have your photos printed as:
- Prints from sizes 4x4 to 8x10
- Canvas Prints from sizes 8x10 to 20x30
- Metal Panels from sizes 5x7 to 20x30
- Wood Panels from sizes 5x7 to 20x30
- Posters from sizes 11x14 to 24x36
Mix and match sizes and print types to keep things exciting. For standard prints, select frames that work well with your theme or color scheme.
Step 4: Add accents.
Complete your gallery wall with other items that coordinate with your theme or match your colors. Consider items like art prints, wall sculptures, and wood and metal plaques.
Step 5: Create a rough draft.
Trace the outline of all the items for your gallery wall onto brown paper. Cut out the paper shapes and label each shape, so you know what the pieces represent. Use non-marking tape to mount the papers on the wall. Reposition until you have the perfect layout.
Step 6: Hang your gallery.
For the final step, remove the paper and hang the real thing in its place, using a hammer and nails. It's a good idea to have a helper standing back to help you gauge when the items are hung straight. Mount everything on the wall and then admire your perfect gallery wall.


