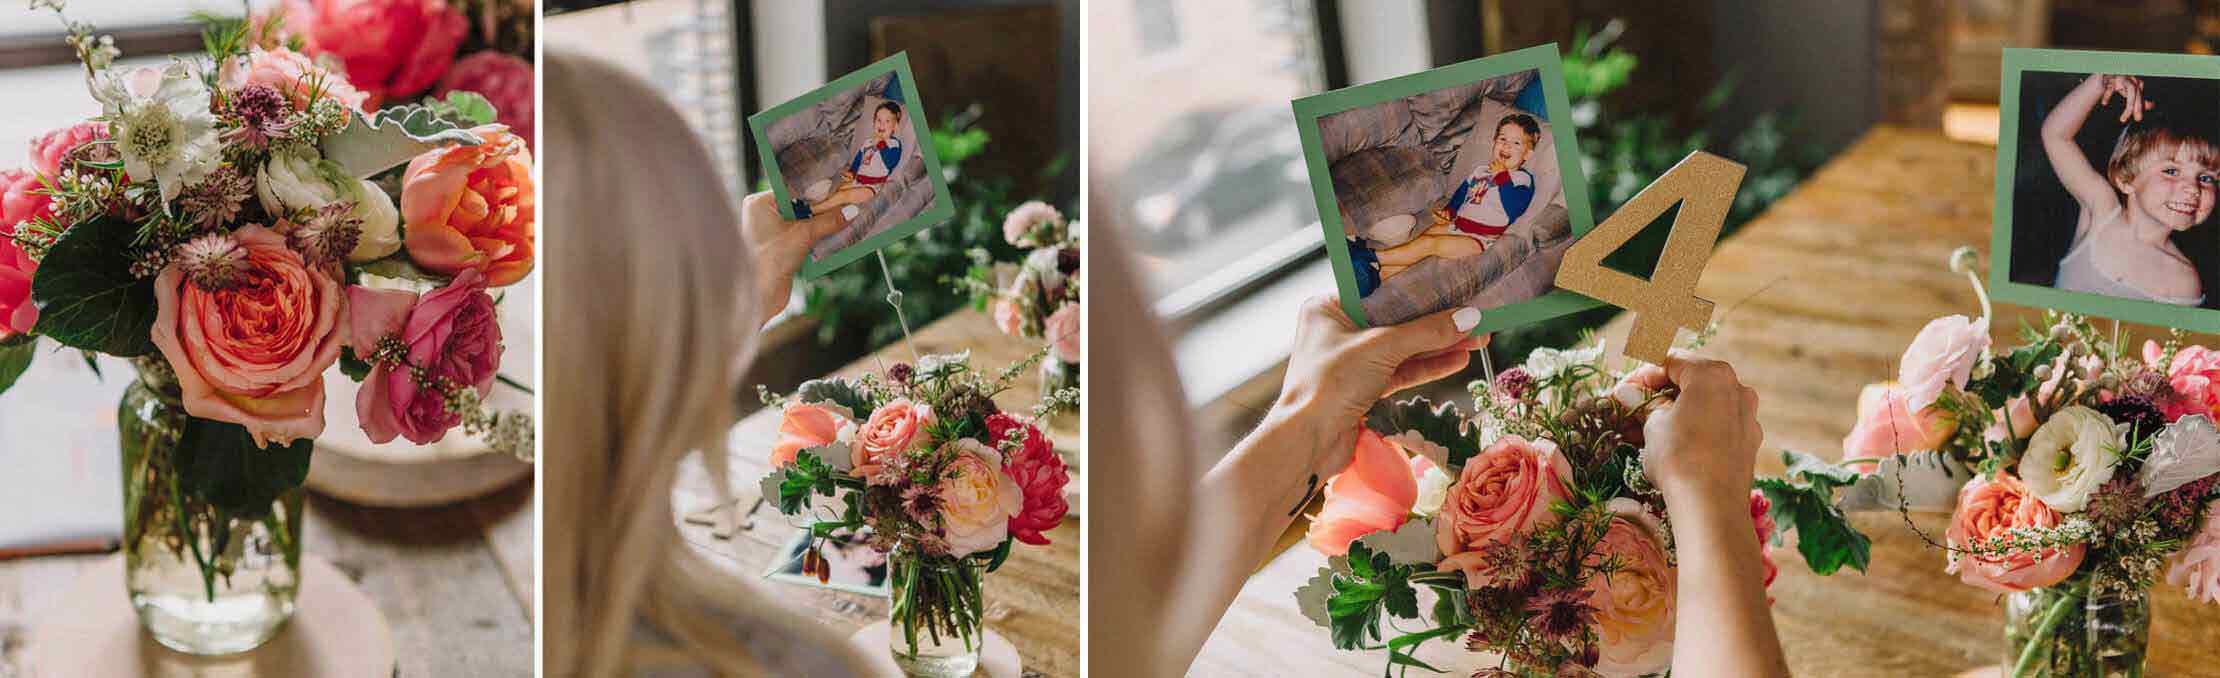
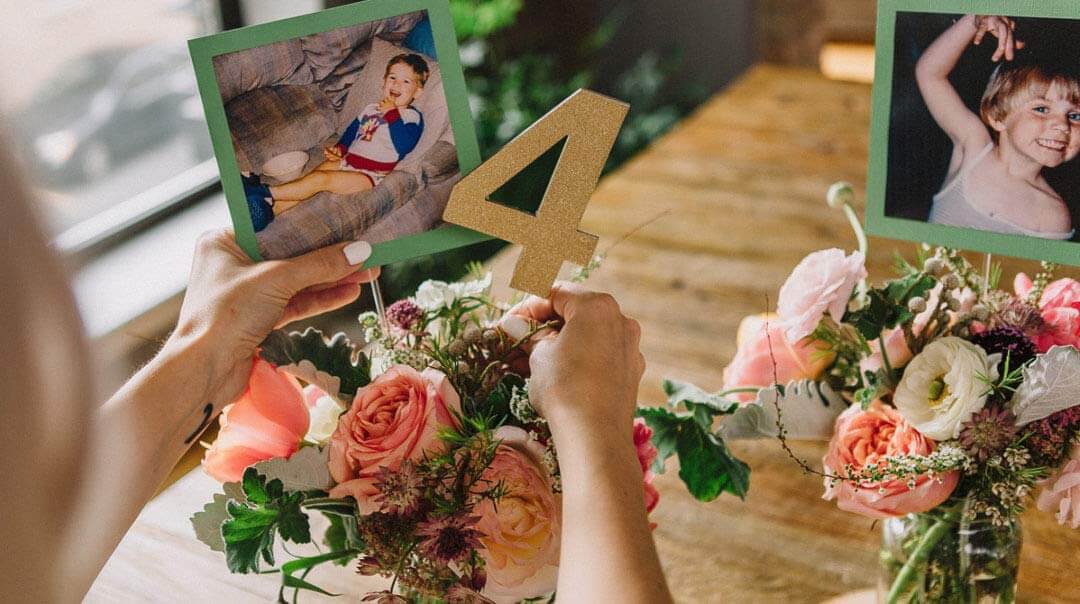
Celebrate the union of you and your true love with beloved moments and memories decorating guest tables. These Through the Years Table Numbers will warm the hearts of your guests and make it easy for everyone to take their seats at the reception. Just follow these simple steps to create them.
1. Choose Your Photos
Dig up pictures of you and your soon-to-be spouse at each age represented by your table numbers. For example, place age two photos at Table 2, age four photos at Table 4 and so on. Have 5×7 Prints made of the images you've chosen.
2. Cut Your Photos
Trim each photo to a 5-inch square size using a ruler and a paper cutter or scissors.
3. Create Your Paper Base
Cut two pieces of card stock into 6-inch squares to create the background for the photos for one table. Repeat for each table.
4. Center and Frame
Apply double-sided tape to the photos and center them on the card stock squares. When you're satisfied with the positioning, press the photos into place.
5. Add the Picks
Center a floral pick on the back of each square and secure with double-sided tape. You or your florist can then insert the floral picks into one or two flower arrangements on your tables.
6. Attach the Number
Use the double-sided tape to attach a floral pick to a chipboard marker. You can leave the markers their natural brown color or paint them to match your wedding colors. Insert the number into a flower arrangement.
With FREE Same Day Pickup on Photo Prints, you can have the photos for your table numbers in a flash. Start sorting through those cherished family photos now to get started with this fun DIY wedding project.