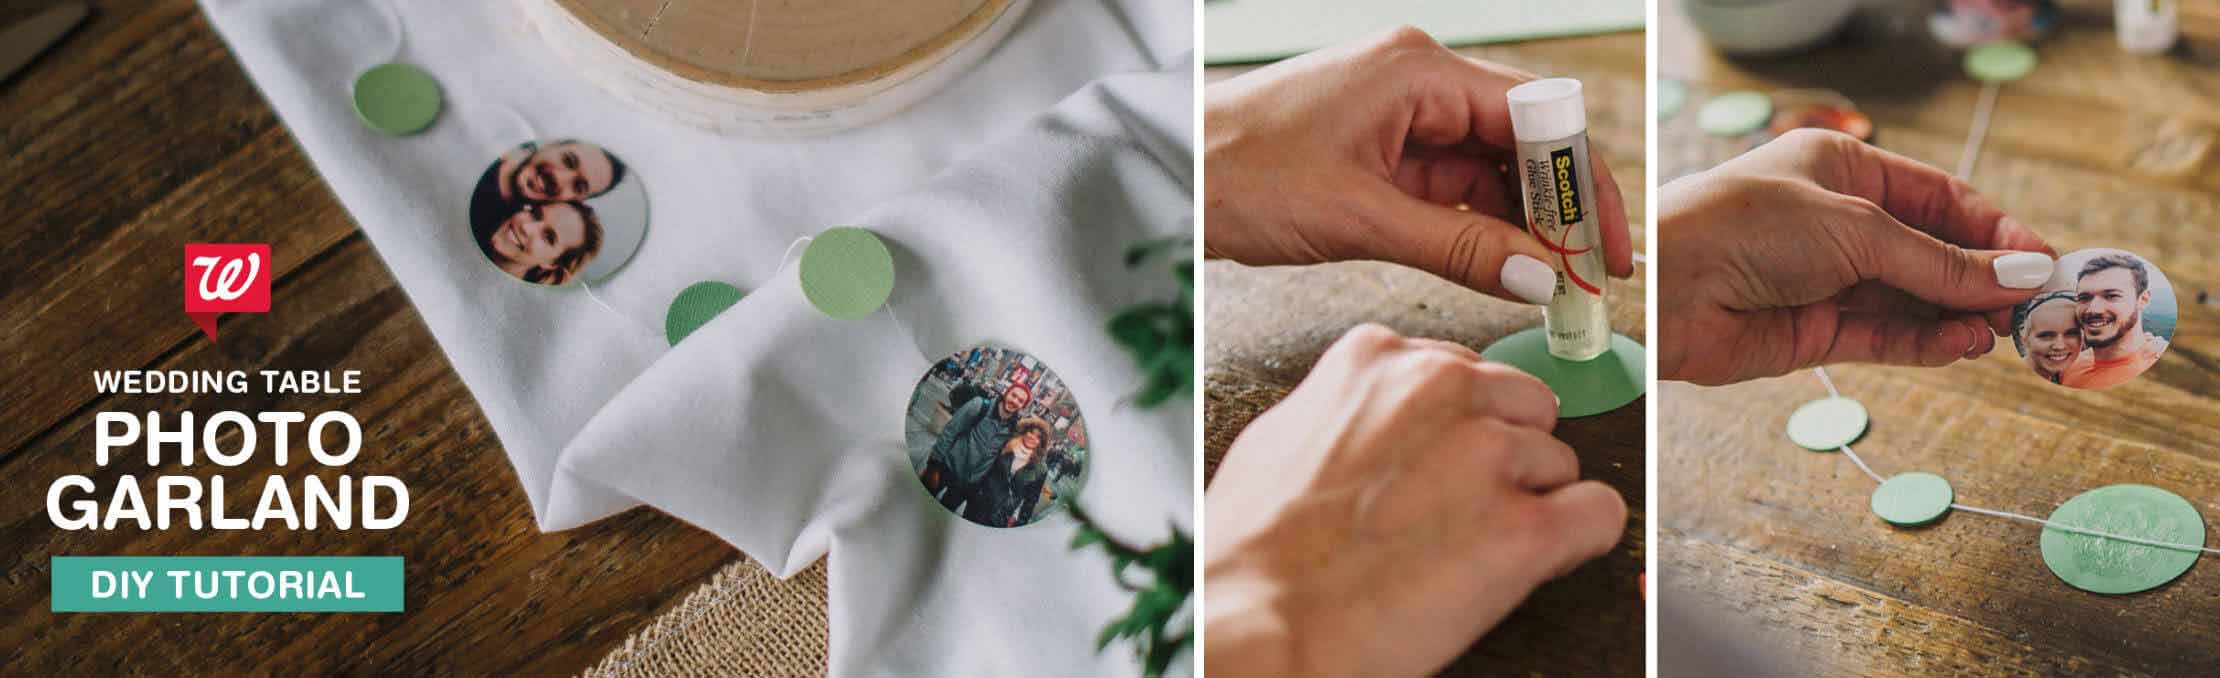
Adding personal touches to decorations at your wedding can make the big day more romantic and memorable. With just a few easy steps, you can create garlands to place on the head table, guest tables, the cake table and beyond.
1. Prepare Your Photos
Cut out a wallet size photo of the two of you with a 2-inch punch.
2. Cut Paper
Create a pair of 2-inch punches of card stock, selecting a color that coordinates with your wedding palette.
3. Create Dots
With a 1-inch punch, make four circles. For a fun effect, use two different colors of card stock, punching two circles of each shade.
4. Add the Photo
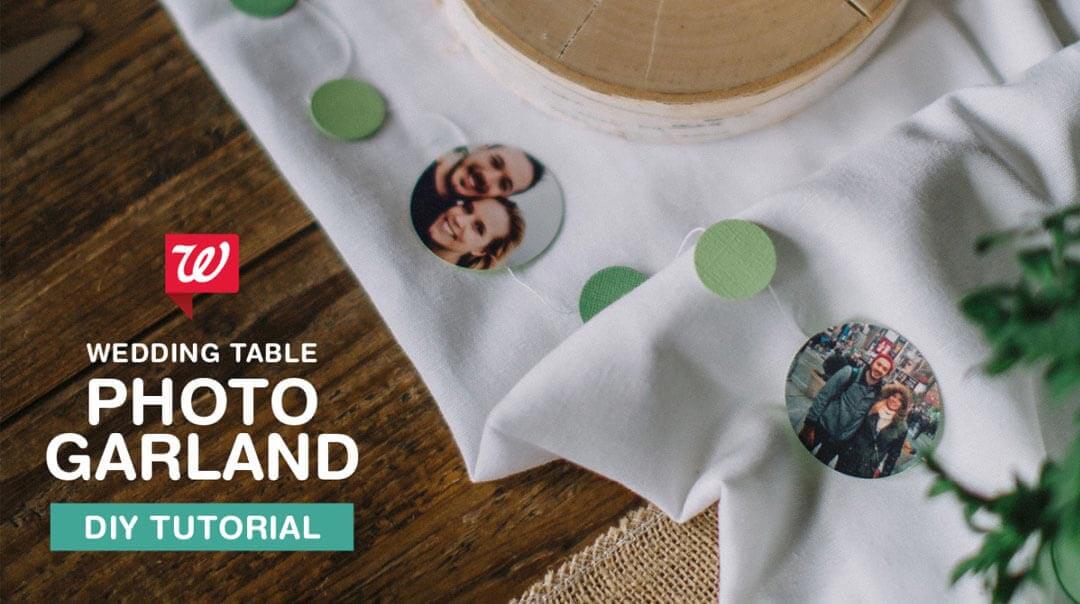
Cut a length of twine to your desired size. Coat the back of each card stock circle with a thin layer of acid-free photo-safe glue. Place the twine over top of the card stock circle. Place the photo on top of the twine, creating a sandwich over the twine. Press the photo to the card stock.
5. Glue the Dots
Apply a thin layer of glue to one of the dots and place it underneath the twine. Make a sandwich by placing the dot in the matching color over top. Press to glue. Repeat with the second set of dots.
6. Make the Garland
Repeat Steps 1 to 5 until you have a garland the desired length. String the garland across the tables as desired.
There you have it — a simple way to add personal flair to the reception. Get started by ordering your Wallet Prints now. With FREE Same Day Pickup, you can have the Prints in your hands later today and be ready to craft your garland.