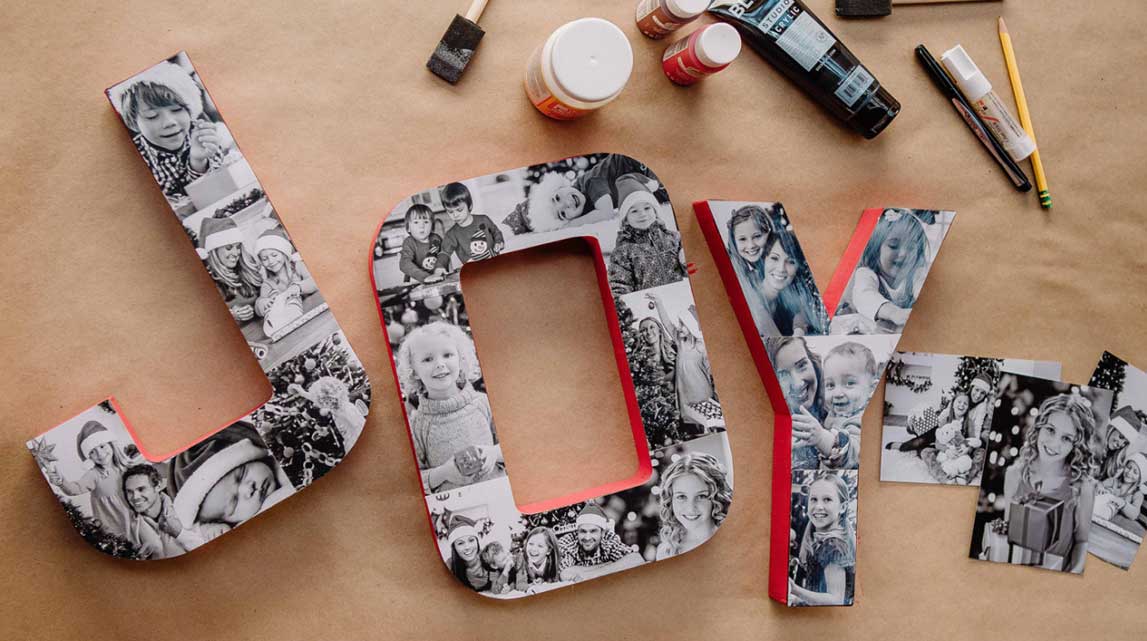
DIY Joy Block Letters

Holiday decorations can spell fun in the living room, hallway, kitchen, bedroom, dining room or bathroom, and your photos can help make those decorative accents extra special. With this simple DIY project, you can create something fun and festive to display on a console table, mantel or ledge.
Materials:
- 4x6 Prints
- Craft letters
- Sponge paint brush
- Matte black paint
- Matte green or red paint (or both)
- Pencil
- Scissors
- Glue
- Decoupage sealant (available at craft stores)
Step 1: Gather your letters.
Purchase cardboard, wood or Styrofoam letters from a craft store that spell out a word that reminds you of the season. This tutorial uses the word "Joy" but you can also choose words like "Merry" or "Peace," or a phrase like "Let it Snow."
Step 2: Paint the front.
Using a sponge brush, paint the fronts of each letter matte black to disguise any gaps between your photos. Allow the paint to dry completely.
Step 3: Paint the sides.
With a clean sponge brush, paint the sides of the letters red or green. You can also alternate between the shades if you wish. Be very careful not to drip paint onto the black letter fronts. Allow the paint to dry completely.
Step 4: Create your collage.
Print black and white photos from the Walgreens mobile app. Standard 4x6 Prints will fit 12-inch letters nicely. Arrange photos until you've covered as much of each letter as possible.
Step 5: Trace and trim.
Place the photos beneath the letters in the desired spot and trace the shape on the back. Then, cut each photo to size with a sharp pair of scissors.
Step 6: Glue.
Secure the photos with glue. Make sure that you use an adhesive that will work on the letter material. Craft glue is a versatile choice that can adhere to most surfaces. Allow the glue to dry completely.
Step 7: Decoupage.
With a clean sponge brush, apply a layer of matte decoupage sealant over the top of all the photos. Allow it to dry completely.
Step 8: Display.
Place your festive letter art in a prominent place for all to see.